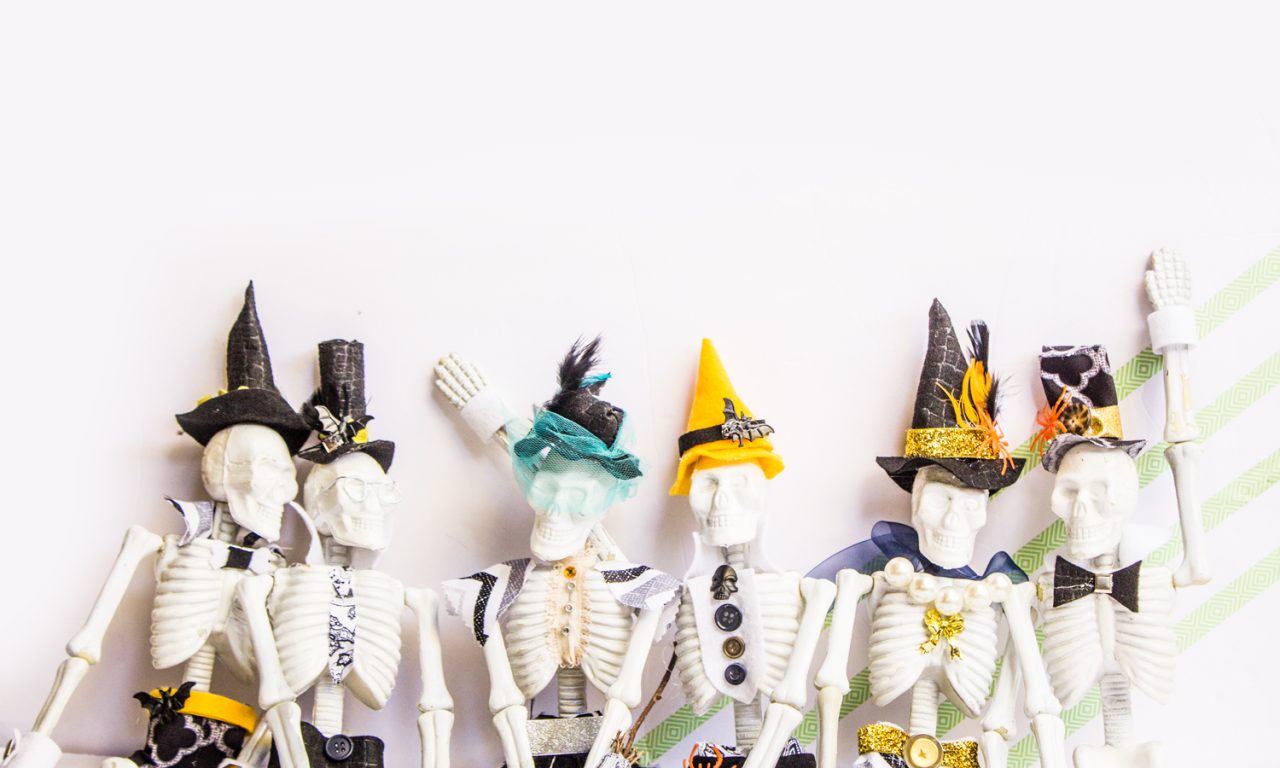
Read through how to make your own DIY skeleton family using simple supplies. I’m always looking for fun ways to make decorations on a budget. So I had this idea while walking through the dollar store to make a skeleton family. And I decided to make my family. So I grabbed those skeletons and got to work. Make this craft using fun supplies and any old buttons lying around. Feel free to customize your skeletons to your personality. I would read through the instructions on how to make each outfit piece before purchasing your supplies. Here’s how to do it.
DIY Skeleton Family

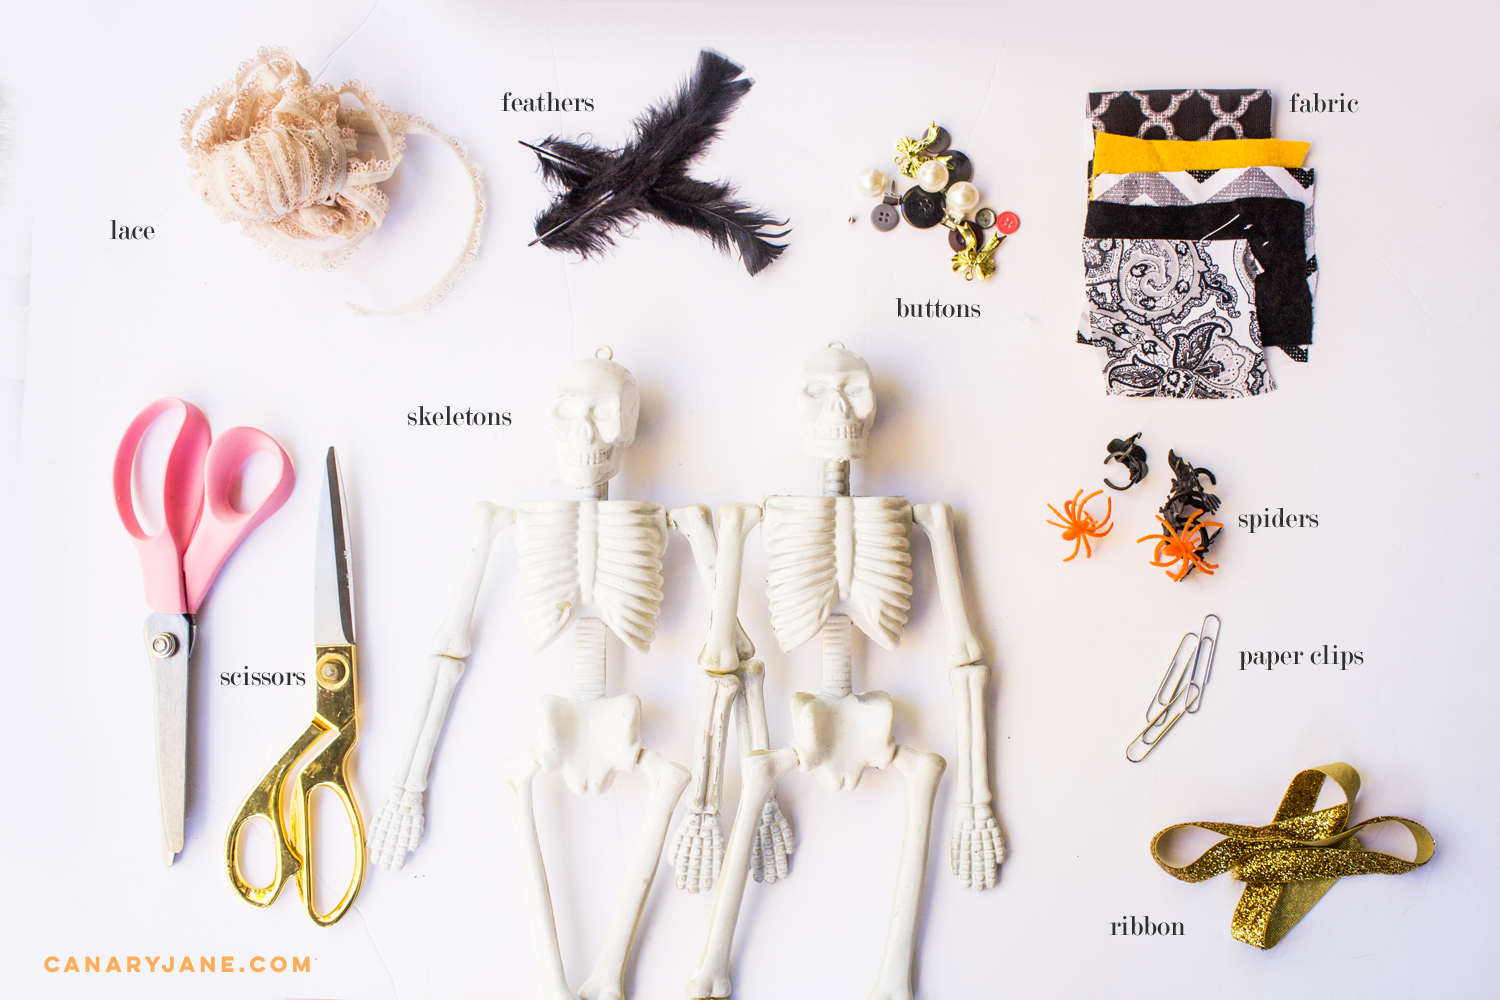
- skeletons (You can find these at the dollar store too)
- spray paint (optional)
- hot glue gun
- hot glue sticks
- scissors
- needle-nose pliers for making glasses (optional)
- fabric (Feel free to use leftover remnants of fabric)
- buttons, brads, and other embellishments
- felt for hats or stiff fabric
- paper clip for glasses (optional)

1. Spray paint the skeletons if you would like them to be a different color. I spray painted mine white. Let dry. (TIP: I use a tarp to put under items when I spray paint)
2. Plug in your hot glue gun. Be careful.
3. From there you will want to start to cut out the accessories. I found it really fun to have to mix patterns on each skeleton so they all had variations of the same fabrics.
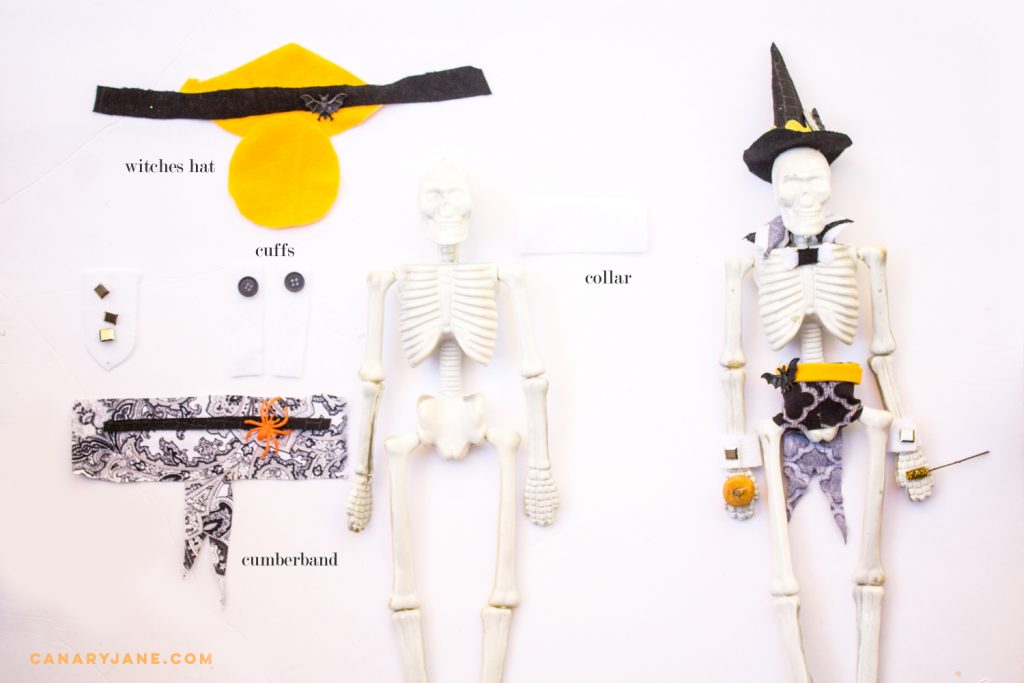
Witches Hat: Use the felt and cut out a circle for the brim. You can use a cup to trace the circle. For the top part, you will want to cut out a half circle to fit within the hat. You may need to trim this piece when you roll it up bringing the opposite ends of the half circle. Hot glue along one of the edges.
Top Hat: Use the felt and cut out a circle for the brim. You can use a cup to trace the circle. Cut a rectangle with the short side being the length of the hat. Glue in a cylinder and trim excess. Glue to the brim.
Cumberbund: For this shape, you will take your fabric and cut a rectangle plus two thin triangles off the edge of one side to make the tails. There is a photo below for reference. Wrap the long rectangle ends around the hips so the long tails hanging off the back. You can measure this before cutting.
Cuffs: These are really simple. Just cut rectangles of white fabric or felt and glue wrapped around the wrists. Add cuff links with buttons or brads.
Skirt: The skirt is simply cutting a large rectangle. If you want the skirt to flare you can cut the sides so they angle outward. Measure for your skeleton before cutting.
Glasses: The glasses were made from paper clips. I undid the shape of the paper clips using needle nose pliers. then I found the middle of the paper clip. Using that as a reference I used the pliers to make two loops to match the eye sockets and then folded back the remaining pieces for the arms of the glasses and glued.
4. Add accessories. This part is fun where you can add lace, buttons, jewels, beads, glitter, or whatever fits the skeletons you are making.
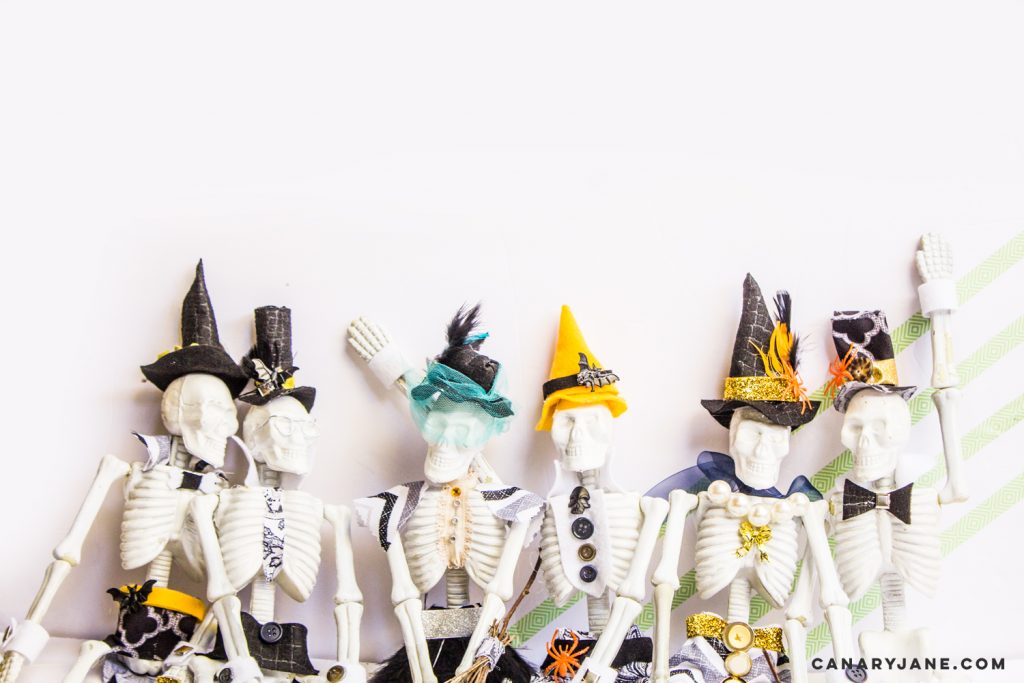
There you go! I would love to see what you make. And it would be so fun to do some really custom skeletons like a mermaid, unicorn, superheroes, or pirate skeleton families. You could even make each family member represent their hobbies. If you do make these feel free to send a photo of your creation and I’ll add it to the post. Happy Halloween. And if you liked this post be sure to check out these other great Halloween posts below!