

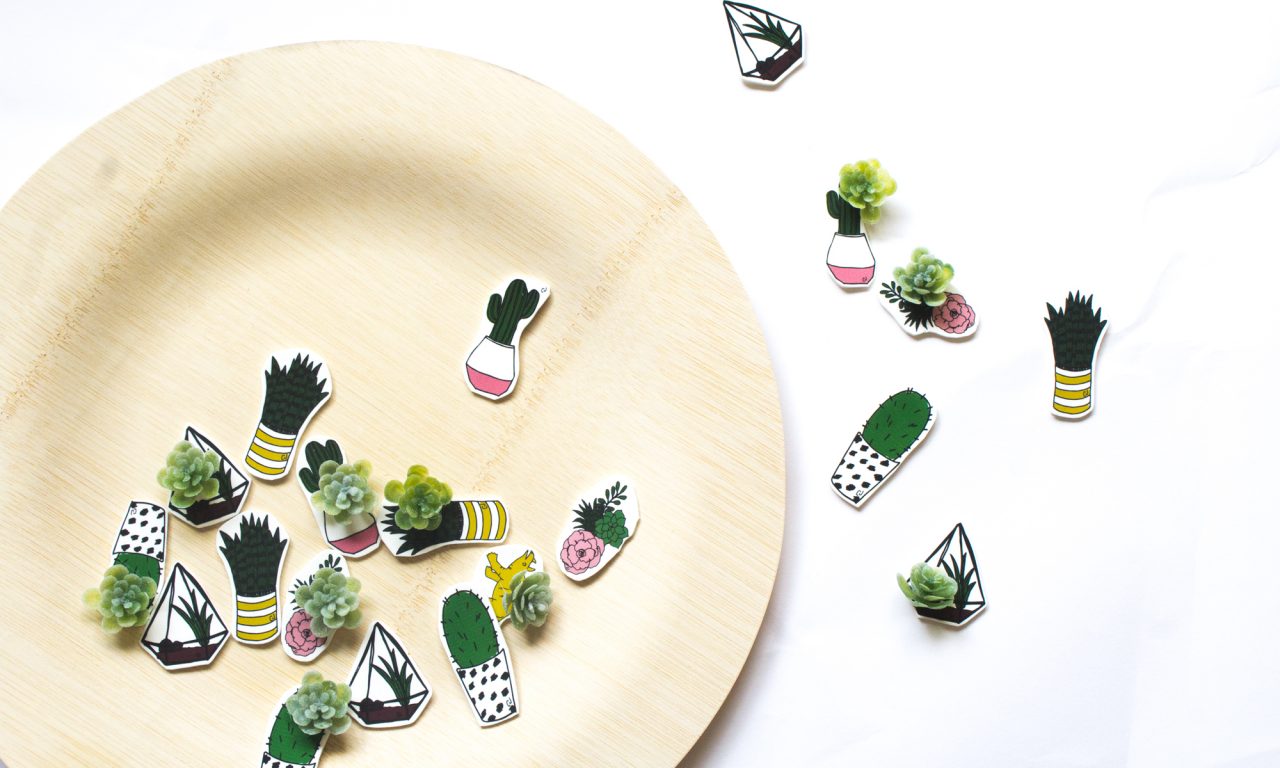
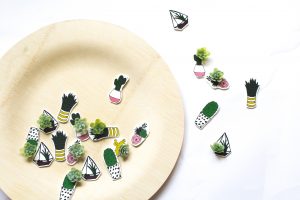
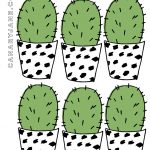
Make these fun cactus shinkadink pins. Included in the post are free graphics you can save and print to make your own.
Looking to make a fun and simple craft that everyone can love? Use my template or make your own design as you make these DIY ShrinkaDink pins. I just spent the last few days in sunny Palm Springs for a content creators conference. And there I was able to exchange my pins with other creatives and EVERYONE loved these pins. The best part is they take less than 30 minutes to make.
What you need:
Pin backs
Baking sheet
Aluminum foil
Accessories such as the succulent
Gorilla Glue or hot glue
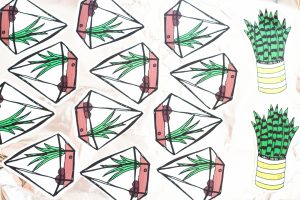
My designs or your own (Here is the cactus ones I used!)
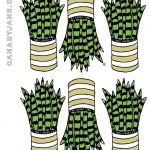
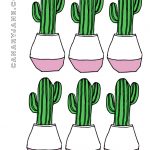
Just make sure if you are using your own you print them 3X larger than what you want the end result to be
How to do it:
Step 1. Print designs on Shrinky Dink paper. Colors will darken as the designs shrink, so change the opacity to 50% if you want to colors to stay the same.
Step 2. Cut out carefully and place on a baking sheet covered in aluminum foil, make sure none are touching
Step 3. Bake in the oven, preheated to 350 degrees for 3 minutes
Step 4. Take them from the oven immediately, you’ll then have 10 seconds to flatten or change their shape before they cool and harden. If you’re having a hard time with them curling up, place a thin baking pan on top of them while they bake.
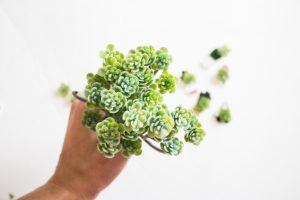
Step 5. Once cool, attach any accessories with gorilla glue. I tried hot glue, and while it worked it did lend to them popping off if under pressure. So you cando the hot glue if in a pinch for time to let them dry. Just know the gorilla glue it preferred. I chose to use these succulents I found on sale at Hobby Lobby! These designs however are cute with or without the baby succulents.
Step 6. Use the Gorrila glue to attach the pin on the back and wait until cool to use.
I hope you enjoyed learning how to make these DIY SHRINKADINK PINS. There’s so many ways to use these! You can stick a magnet to the back, punch a hole in the paper before they bake and use on a necklace, or make earrings! If, over time, the image starts to fade, use may want to seal it using mod podge or an aerosol sealant.
A couple things to mention. As I made about 60 of my pins two of the sixty completely curled up completely and I could not uncurl them. So make sure you leave room for a little bit of error when purchasing the Shirnky Dink paper. Also when they come out they may need to be flattened. But know they are really hot! Use a mitten to do so or gloves.
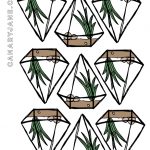
Thanks for stopping by and learning how to make Shrinky Dink pins! If you have any questions feel free to comment below and I will get back to you asap. For more crafts you can check out my DIY terrariums, printable floral crown, and table runner.
If you liked that, you might like this:
Omg, these are the cutest! I love how adorable they look. I’ll definitely make some for me, I absolutely love them! Thank you so much!