


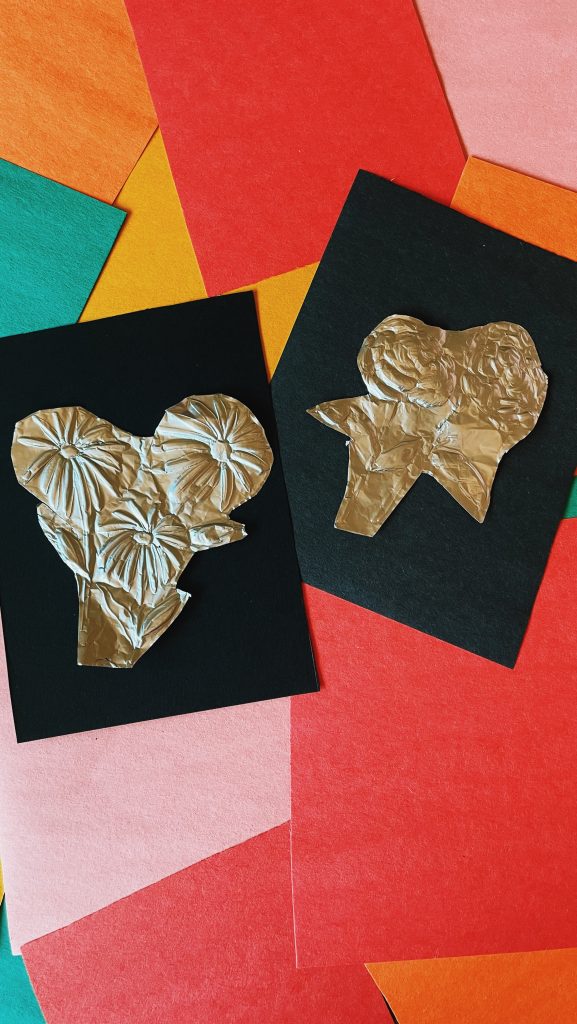
Make this easy tin foil craft using just a few supplies. It’s a fun diy because it creates a raised embossed look so simply.
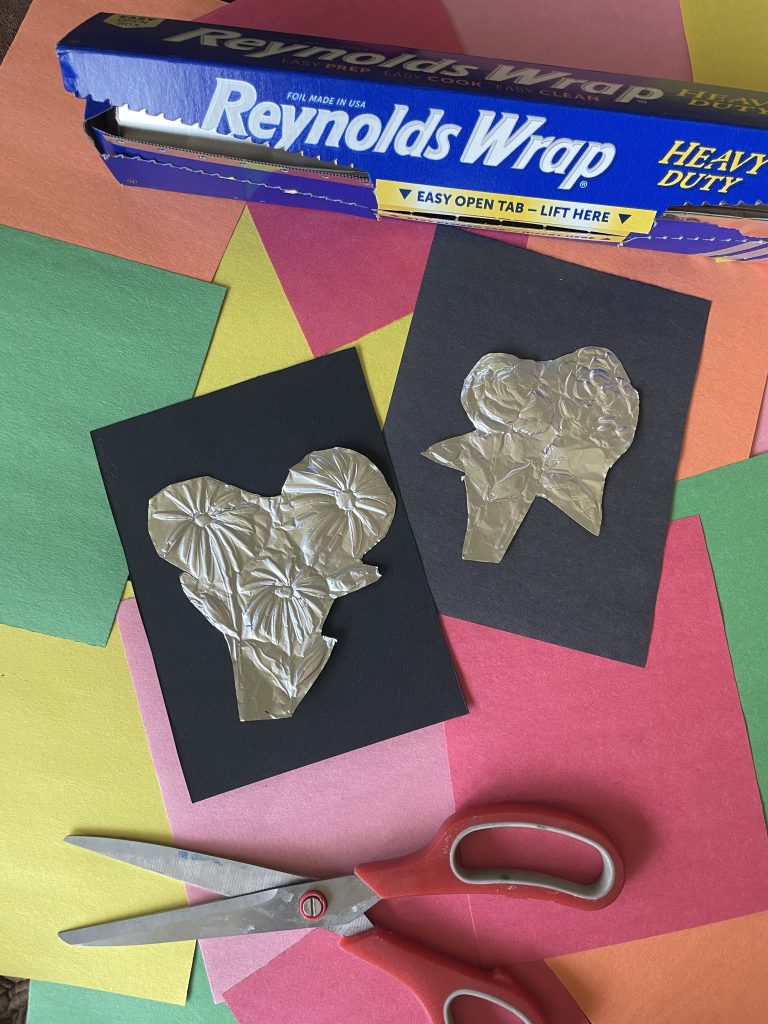
To make this craft you need tin foil, a pencil, a rounded paintbrush, and some scissors. The bonus is this craft is made rather quickly as well.
We made these embossed tin foil flowers for a Mother’s Day craft at our art club. And while we had fun, I did need to remind the kids to draw lightly so you don’t like through the tin foil. Other than that this is suitable for all kids, with guidance.
SUPPLIES:
– tin foil
– scissors
– pencil
– rounded end of a paint brush or pen
– Elmer’s glue
– contrasting paper
INSTRUCTIONS:
1. Practice drawing your flower design on paper first if desired.
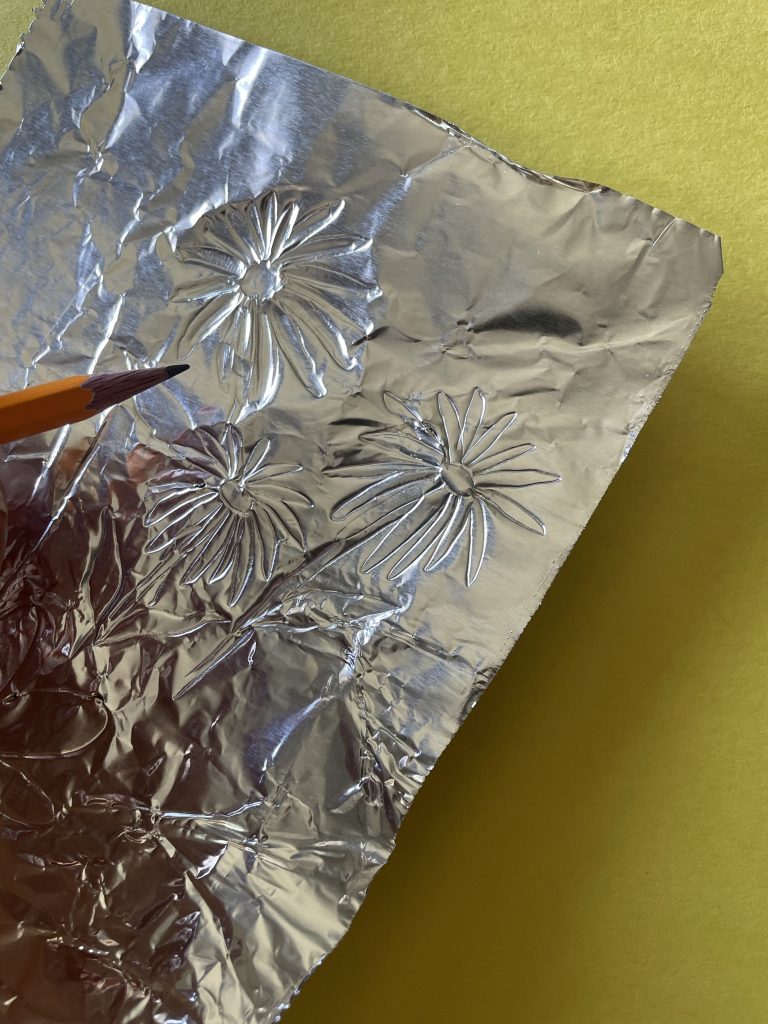
2. Once you have picked your design, draw the flower and outline with pencil, making sure not to poke through the tin foil. The daisy design worked best for me.
3. Next, carefully use te rounded edge of the paintbrush to smooth and fill in your outlines. It make help to slightly lift the tin foil so you can get more pressure.
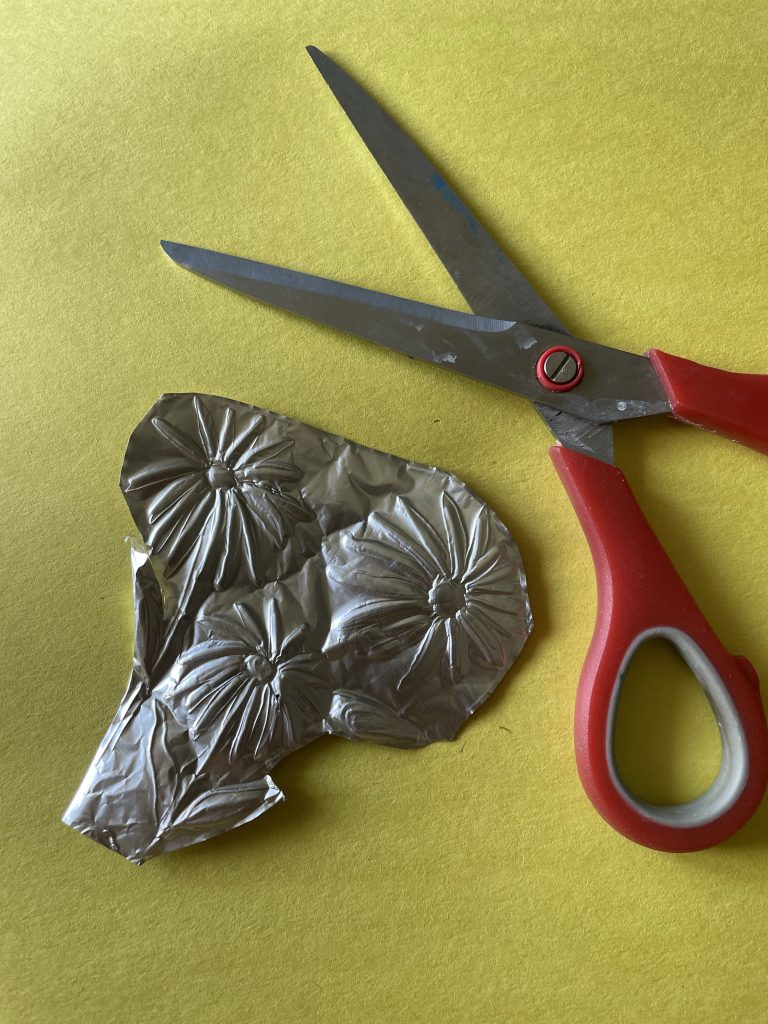
4. Turn over the tin foil and then cut out the shape.
5. Glue the cut out flowers onto a contrasting piece of paper. We used Elmer’s glue but by glue would work too. You don’t need a ton of glue.
As mentioned I did this with my kids art class and it was so simple and easy. Once you get the pressure and process down you be a flower making machine. Ha!
Happy happy Mother’s Day! If you want to see more Mother’s Day fun check out these free printables. Also check out this Mother’s Day craft as well.
-Natashia
If you like that, you might like this: