

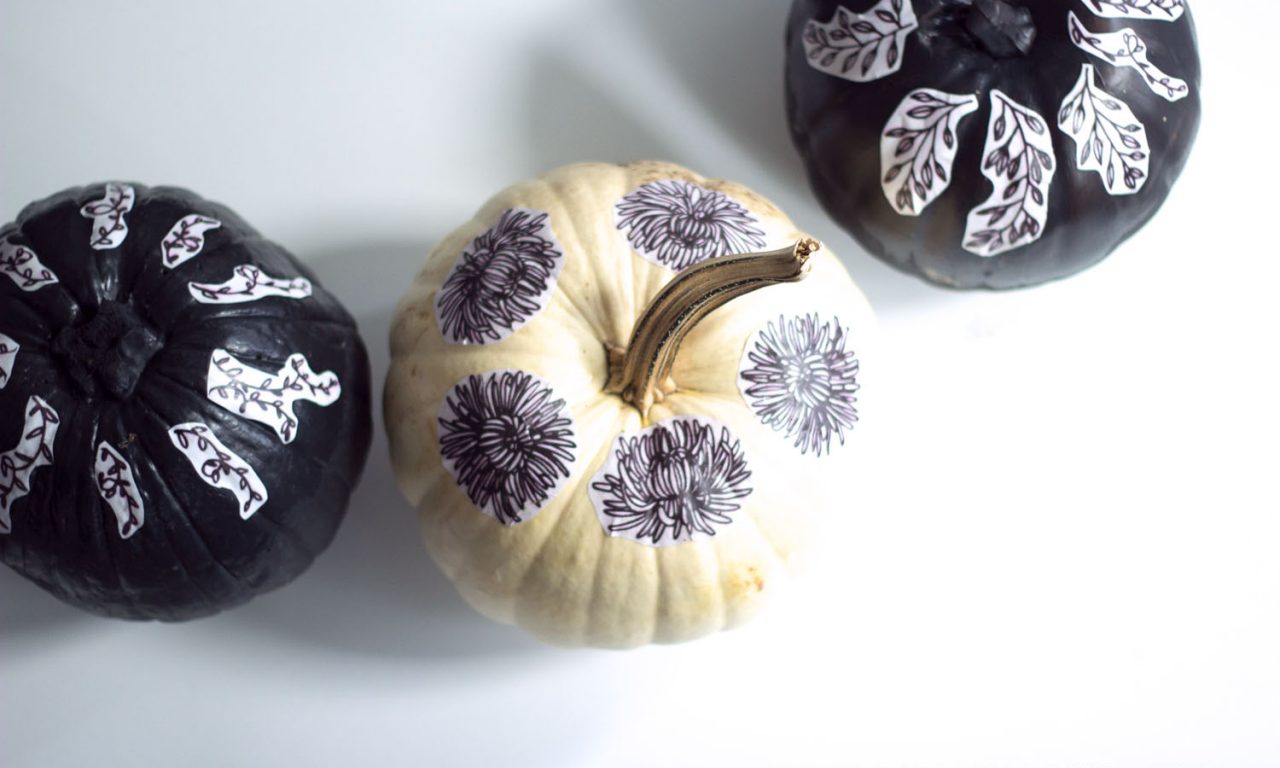
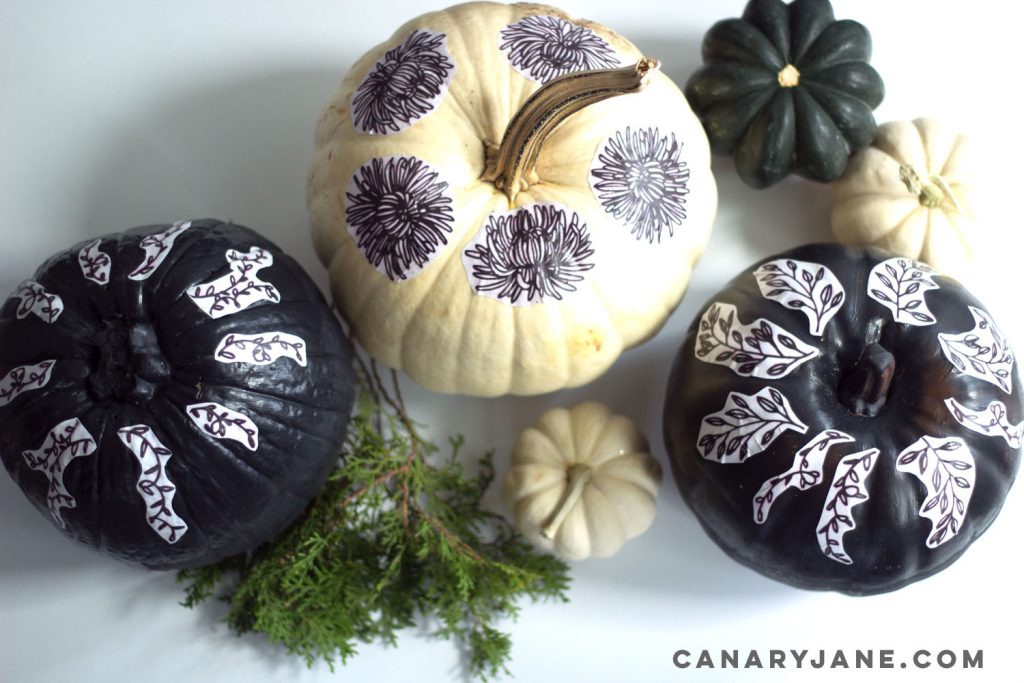
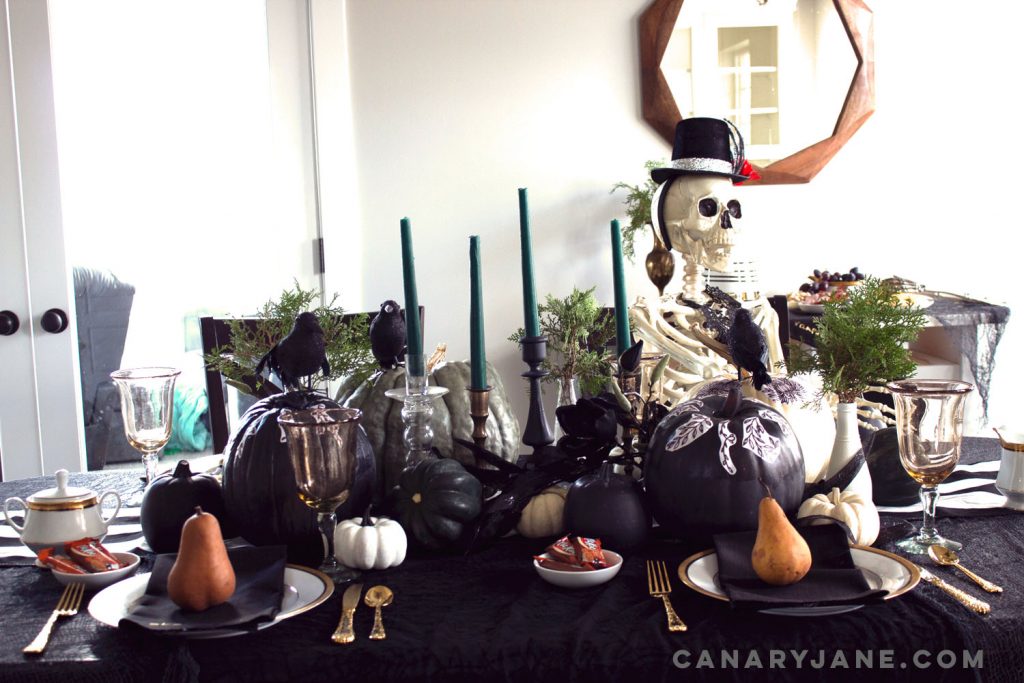
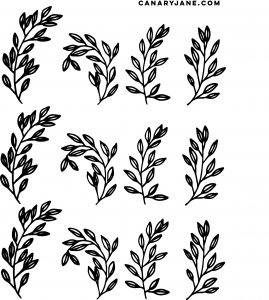
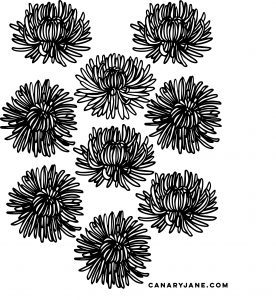
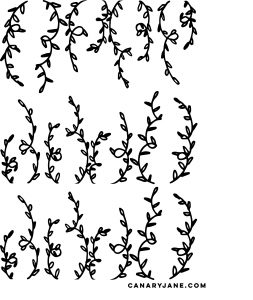
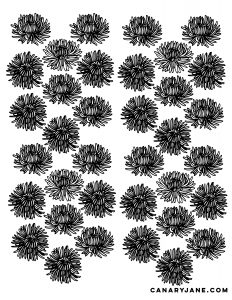
Read through how to make your own decoupage pumpkins using simple supplies and my free pumpkin designs. I’m always looking for fun ways to make decorations on a budget. These pumpkins require a few supplies and my free printable floral designs below. I used these in my gothic Halloween setup that you can read about here. And the black pumpkins are from Oriental Trading and are great because as they aren’t real I can use them year after year. Here’s how to make your own decoupage pumpkins.
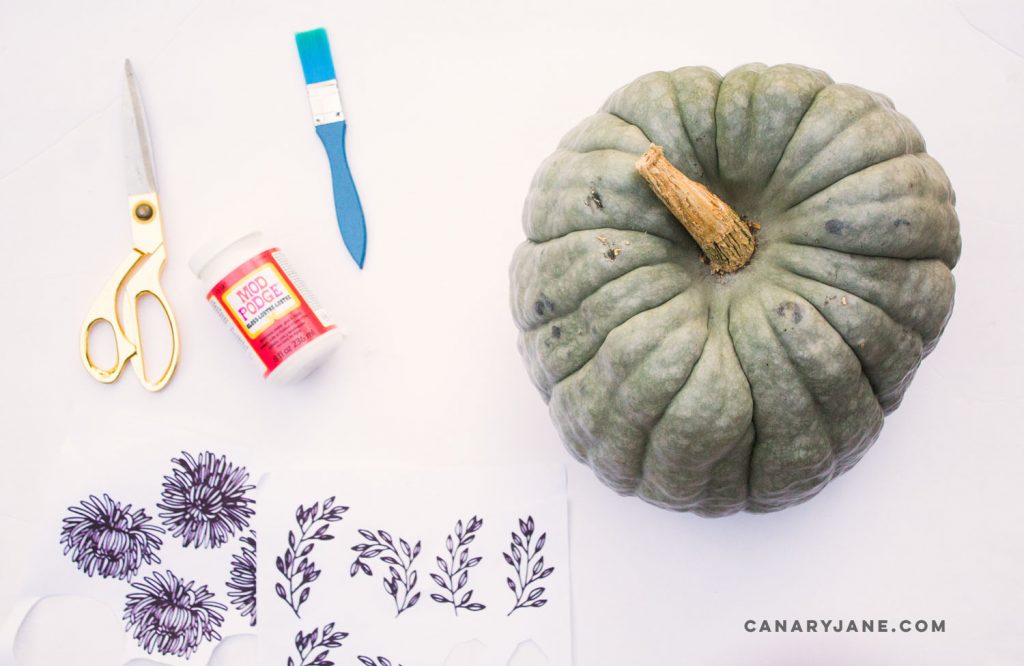

- Pumpkins, any color, any size, real or fake (I purchased mine at Shade Home and Garden)
- Free printables, see below
- Modge Podge
- Foam brush
- Scissors


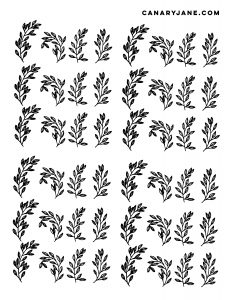
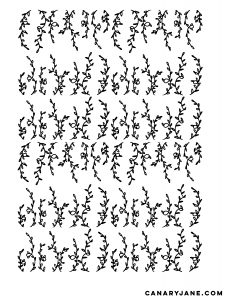
- Print out the designs you would like to use on your pumpkins. There are three different designs and a large and small option of each. Small more for small pumpkins and large for large ones. You can arrange them on the top as shown or all over. Feel free to be creative.
- Cut out the design you would like to use.
- Modge Podge your pumpkin. You may want to do the entire pumpkin as the modge podge leaves a glaze and may look uneven otherwise.
- Take your cut pieces and arrange your design lightly placing on the modge podge. Adjust as needed.
- Once you have arranged the pieces on your pumpkin press each piece down firmly and apply a generous amount of modge podge on the design. The paper should conform to the pumpkin shape.
- Let dry.
And thats it! Hope you enjoyed this tutorial on how to make decoupage pumpkins. Let me know if you have any questions. And be sure to check out my other Halloween posts like my skeleton family, macrame pumpkins, or DIY costumes. And there’s more! Click here to see all my Halloween posts. And feel free to send me photos of your projects at hello@canaryjane.live-website.com! I’d love to see how it turned out.
Thank you for sharing all the details with us! I already know how I’m decorating my porch this fall =)