

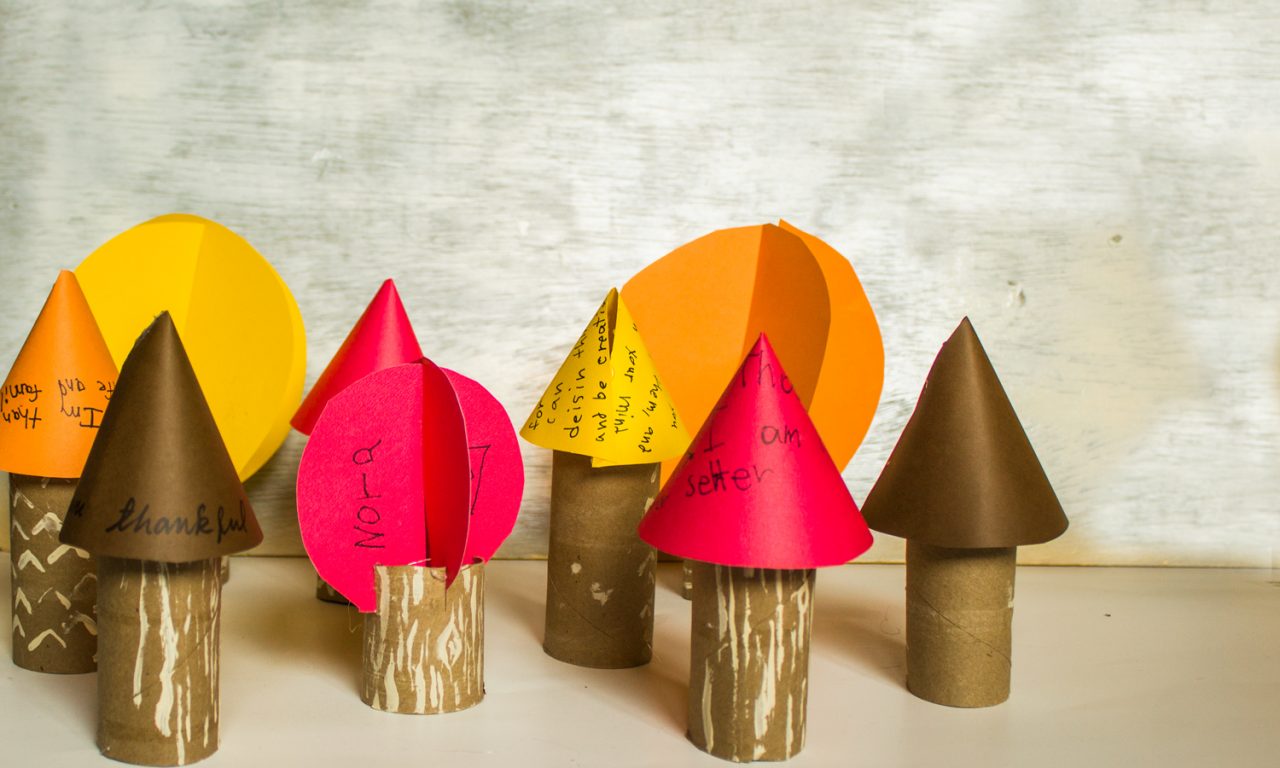
This year I wanted to do something a little different for our thankful trees. So instead of the regular printed tree like this one I did in the past or the traditional branches, I came up with our own thankful forest! Read on to learn to make your own thankful trees.
One of my favorite things about fall is the sea of colored leaves in our neighborhood. So why not make our own forest? These trees are super simple to make and are fun for the kids. So you can make the trees or Here is how to make your own forest of thanks, paper thankful trees.
Supplies:
- toilet paper rolls
- colored paper (1 sheet
- white acrylic paints (I got mine from Decoart)
- small #2 paint brush
- hot glue gun + glue sticks OR stapler
- marker or pen for writing thankful notes

Instructions:
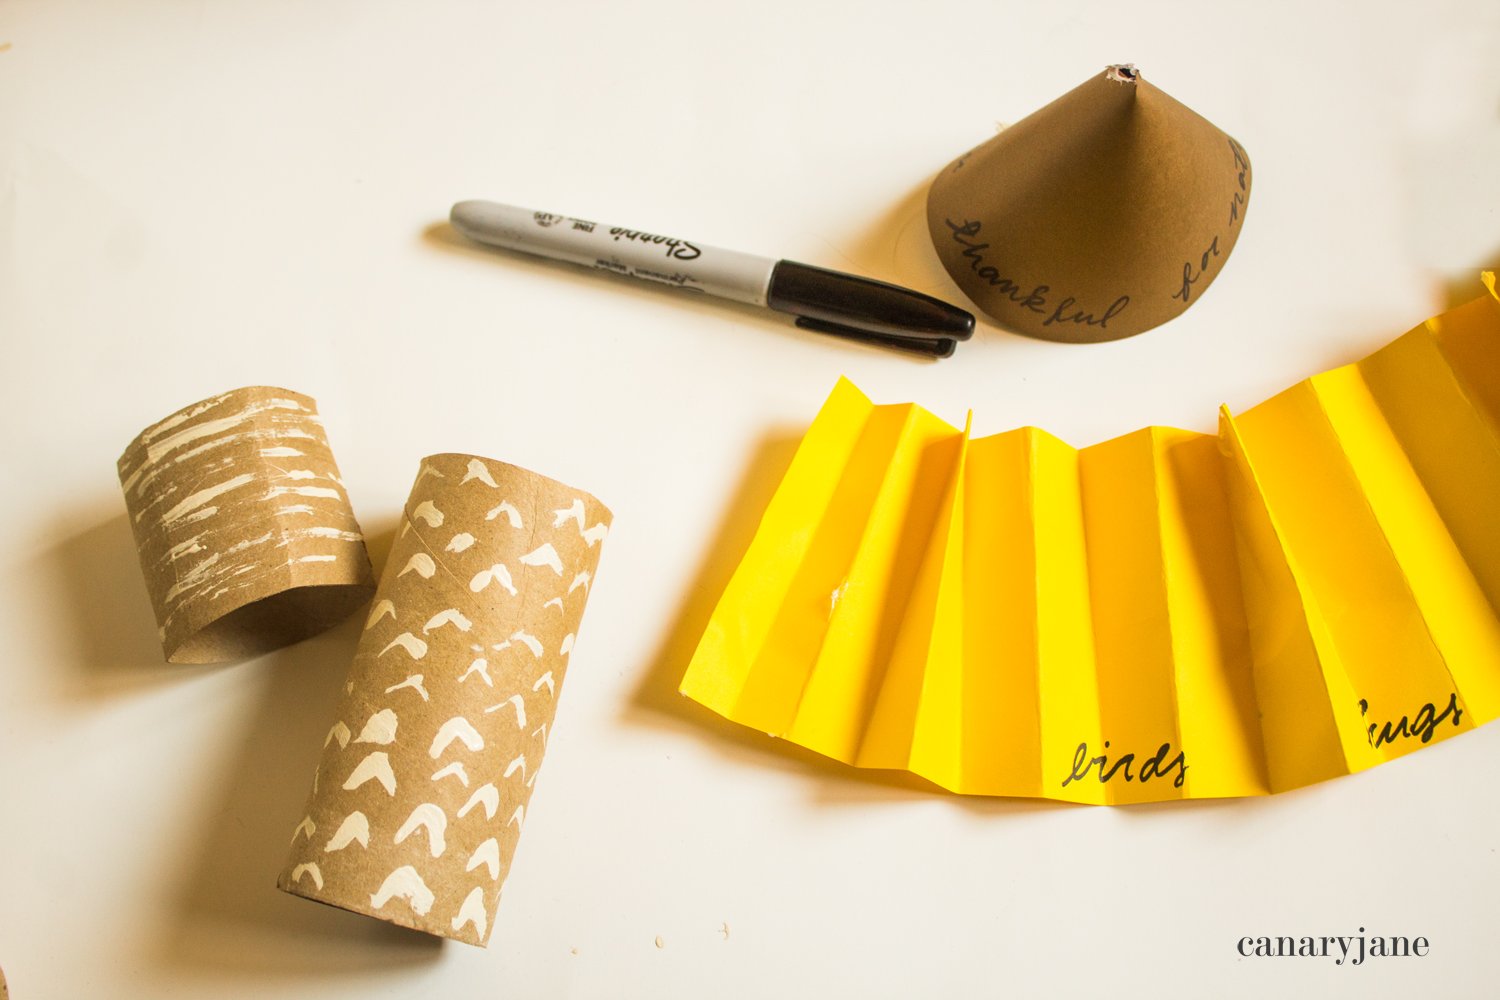
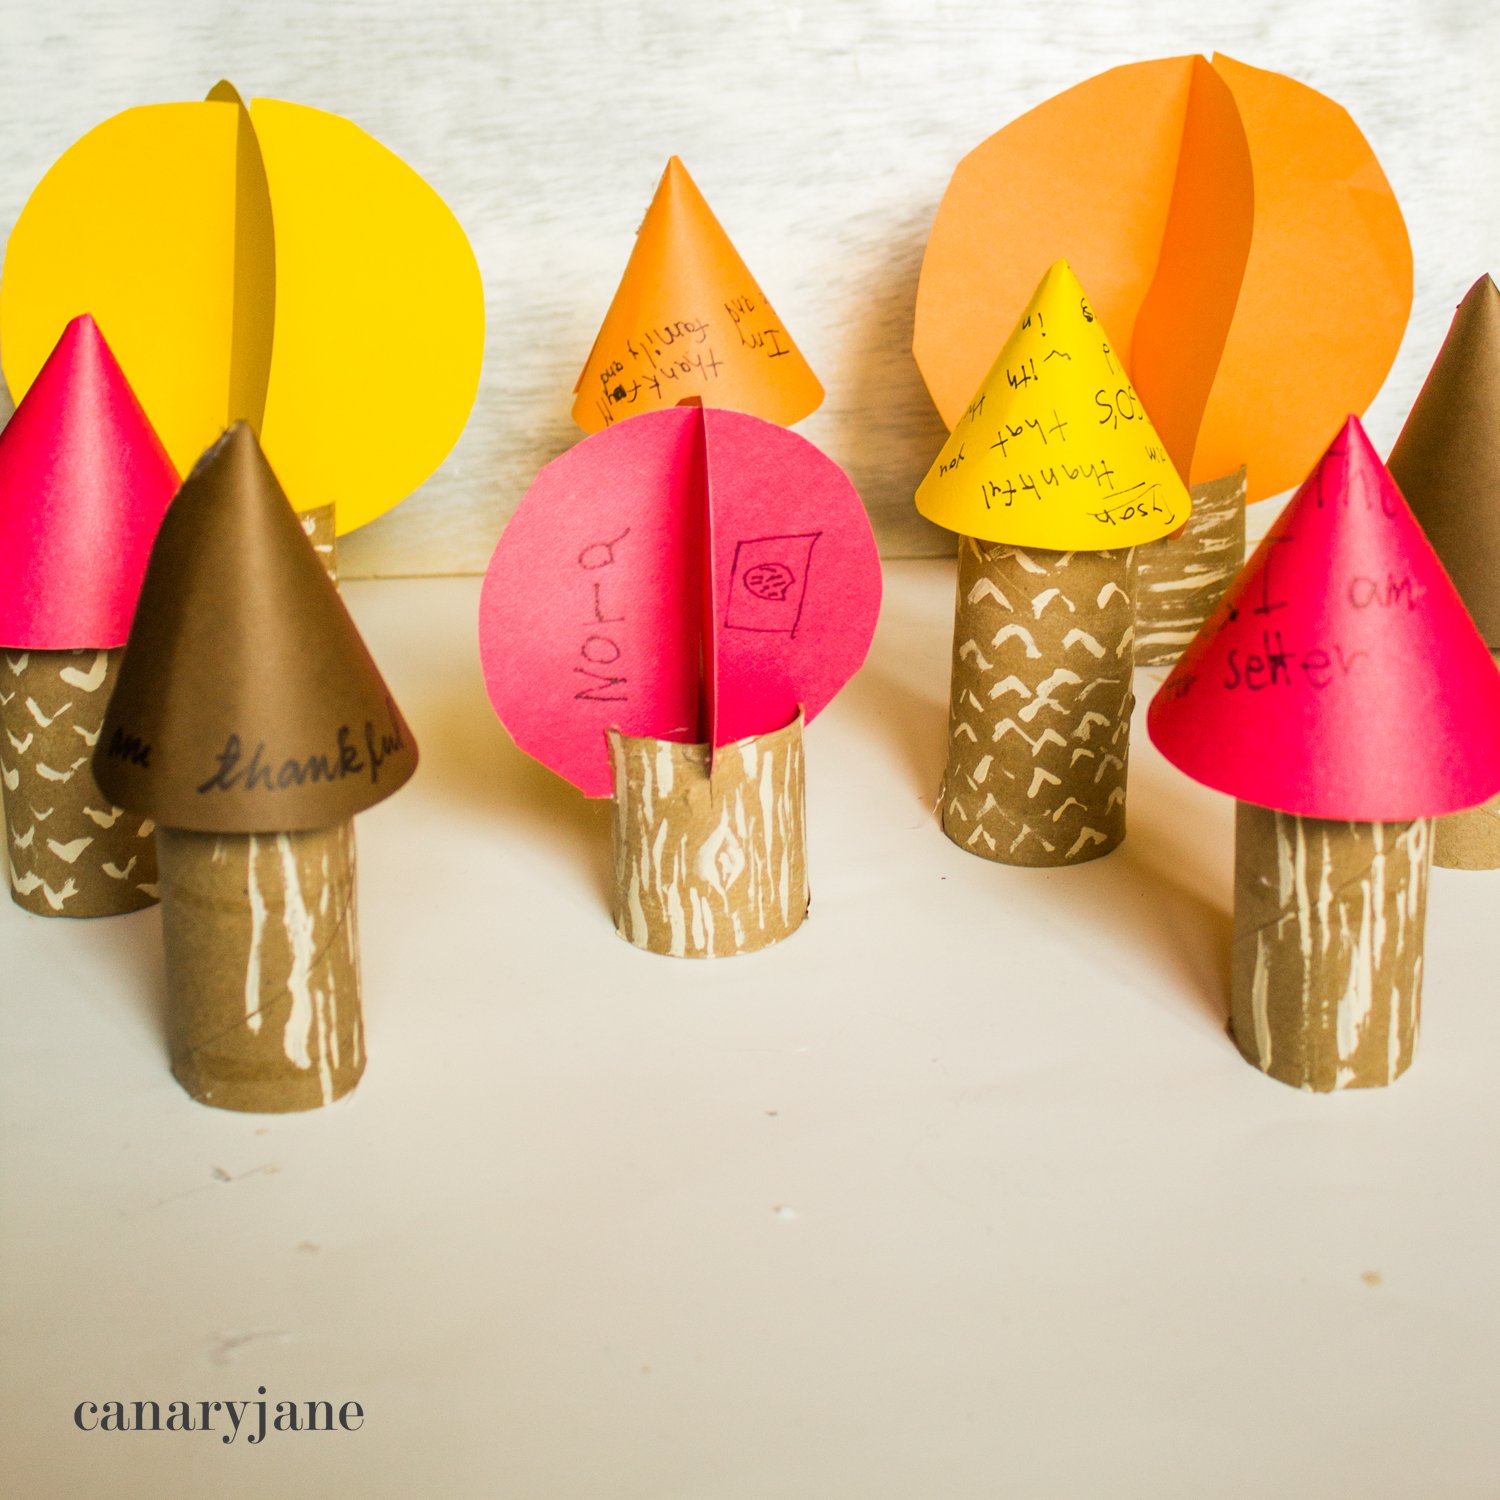
- Paint the trunks in different designs. You can see ours are up and down lines with a knot thrown in here or there. And we also did some “v” designs too. The best part is they don’t have to look perfect! So if you’re not an artist, your trunks will still look great!
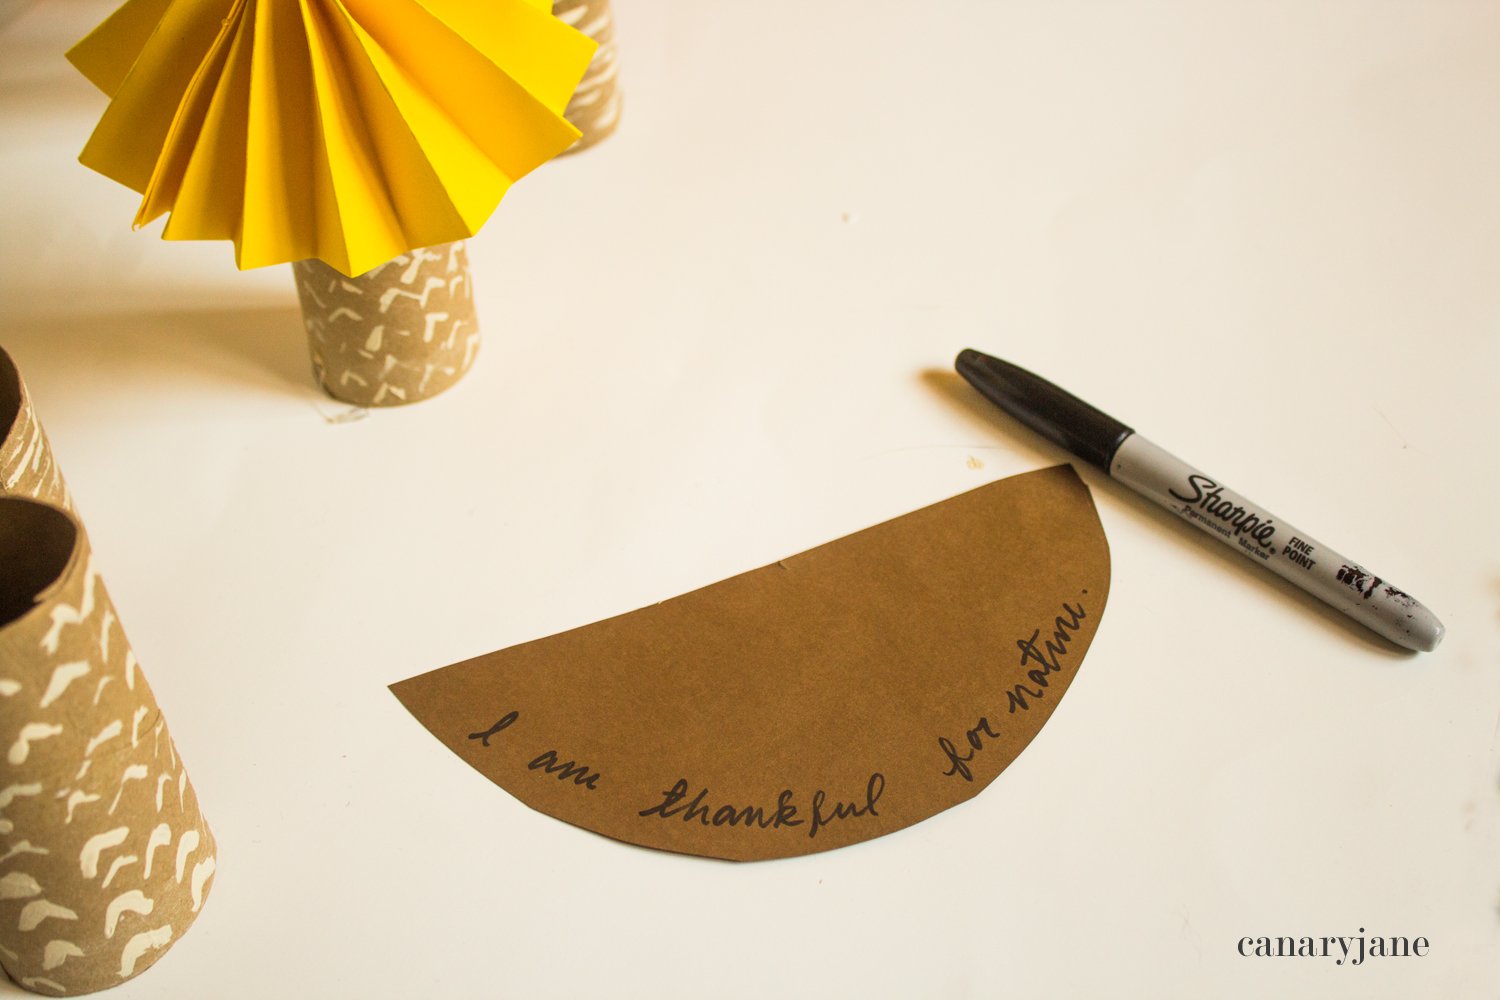
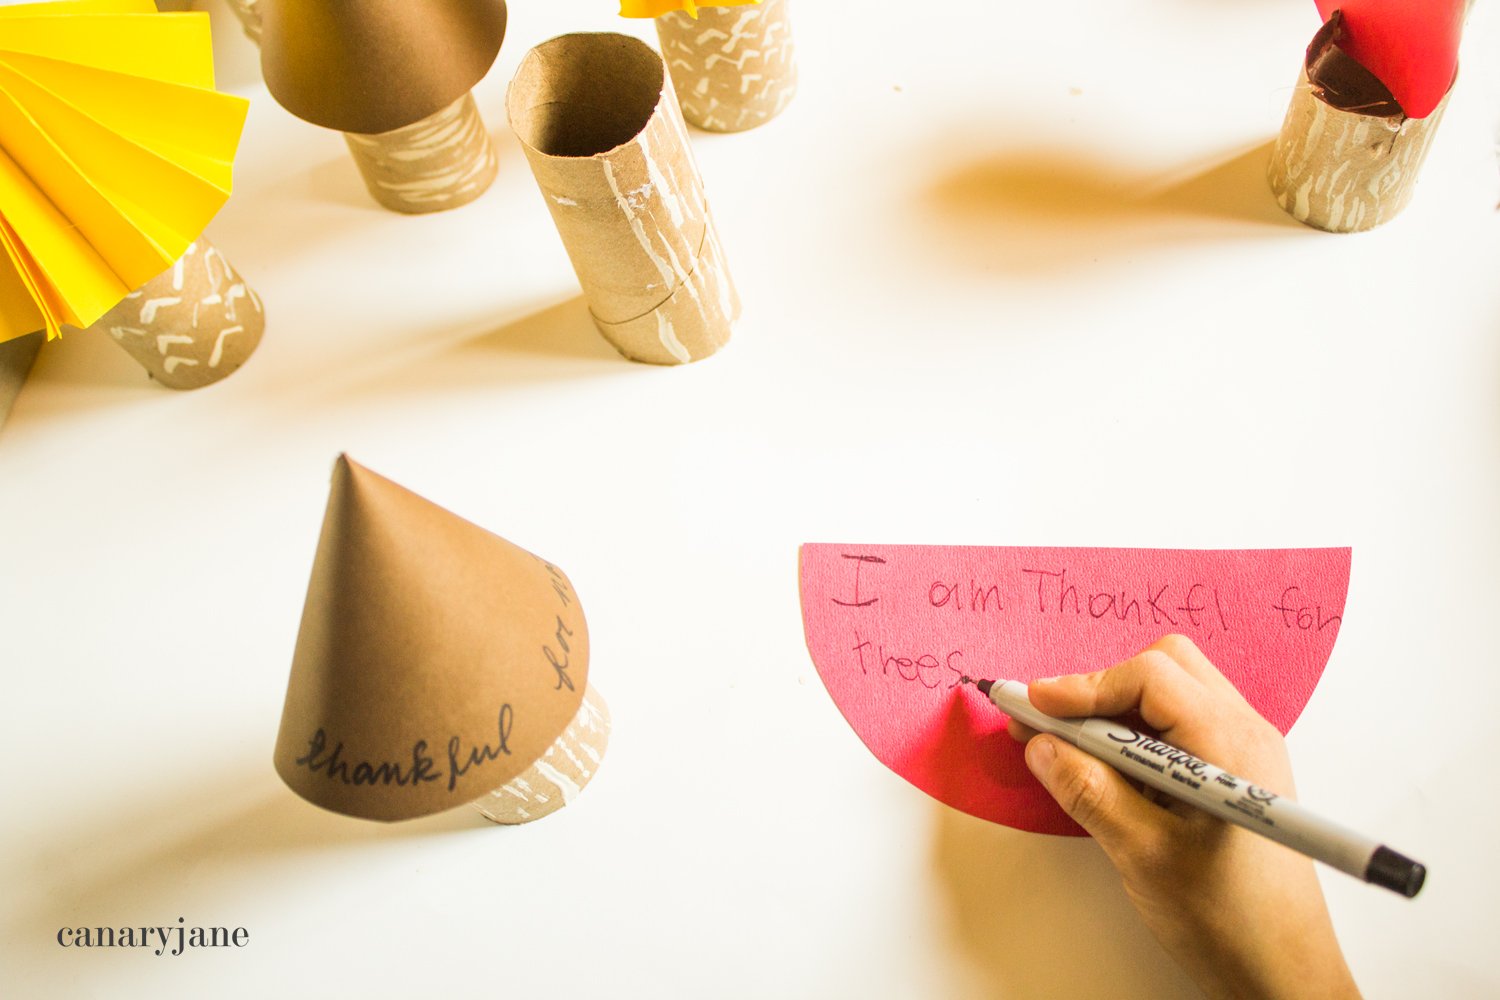
- Cut out your leaves. We did two different designs. One is a a simple half circle glued to make a cone. And the other is two circles. Once you have cut out the circles cut a slit to the middle of the circle. Then feed one circle into the other until the lock in the middle.
- Let your kids write what they are thankful on either circles.
- Once they’re done you can shape and glue the leaves or let them help. Be careful with the hot glue. Or use a stapler to make the cone trees if your kids want to do it.
- And that’s it! Arrange and enjoy your forest of thanks.


If you liked that, you may like this: