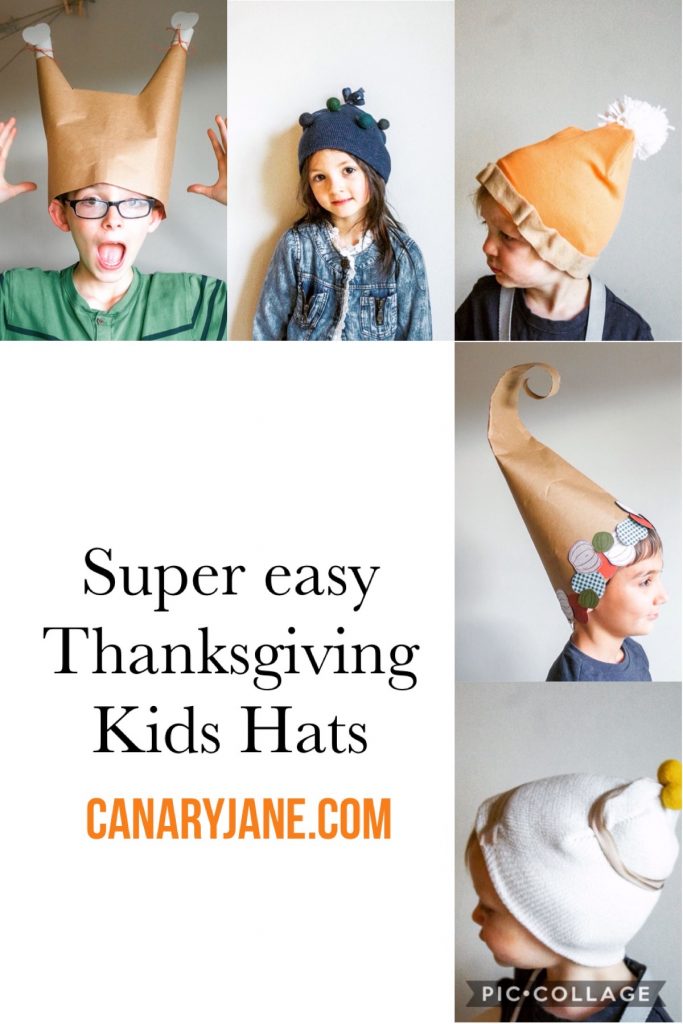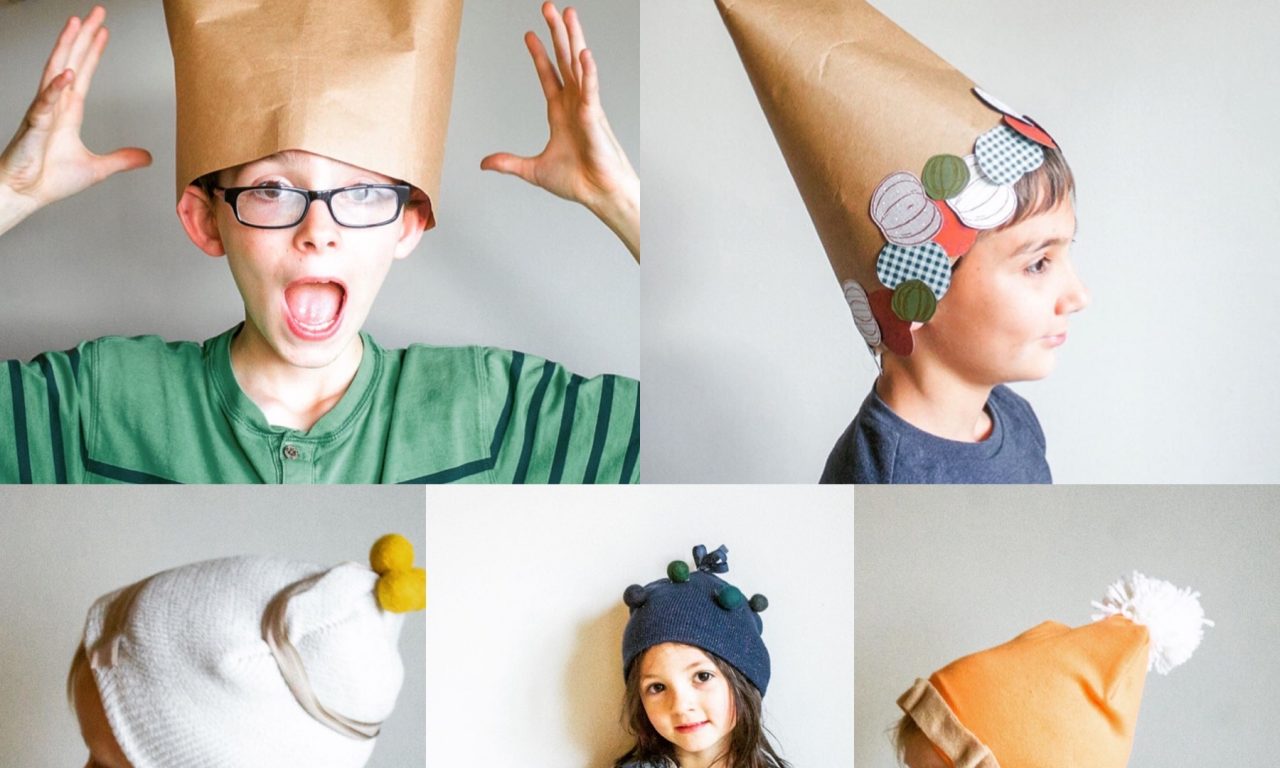
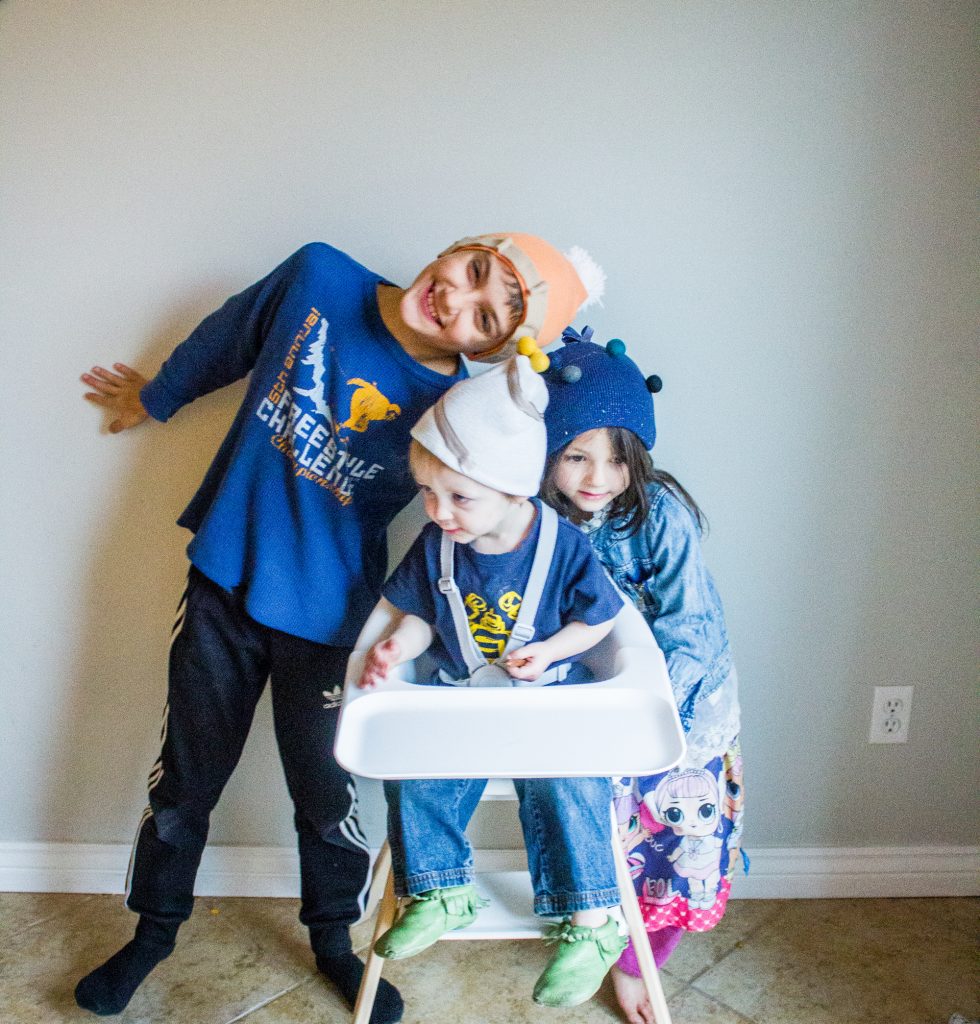
Read on to learn how to make these fun easy Thanksgiving themed hats for kids during Thanksgiving. I’ve come up with a whole Thanksgiving feast. Make a paper cornucopia, a paper turkey, and some sides to go with it! These beanies are super fun for watching Turkey ball and the paper hats perfect cheap craft for classroom crafts or a Thanksgiving dinner DIY.
This post is sponsored by Stampin Up Paper Craft company. We happily collaborate with Stampin Up as we love their paper and craft products and all the fun projects we get to make. If you’d like to see what else we have made you can see our paper butterfly wing craft or Halloween craft here.
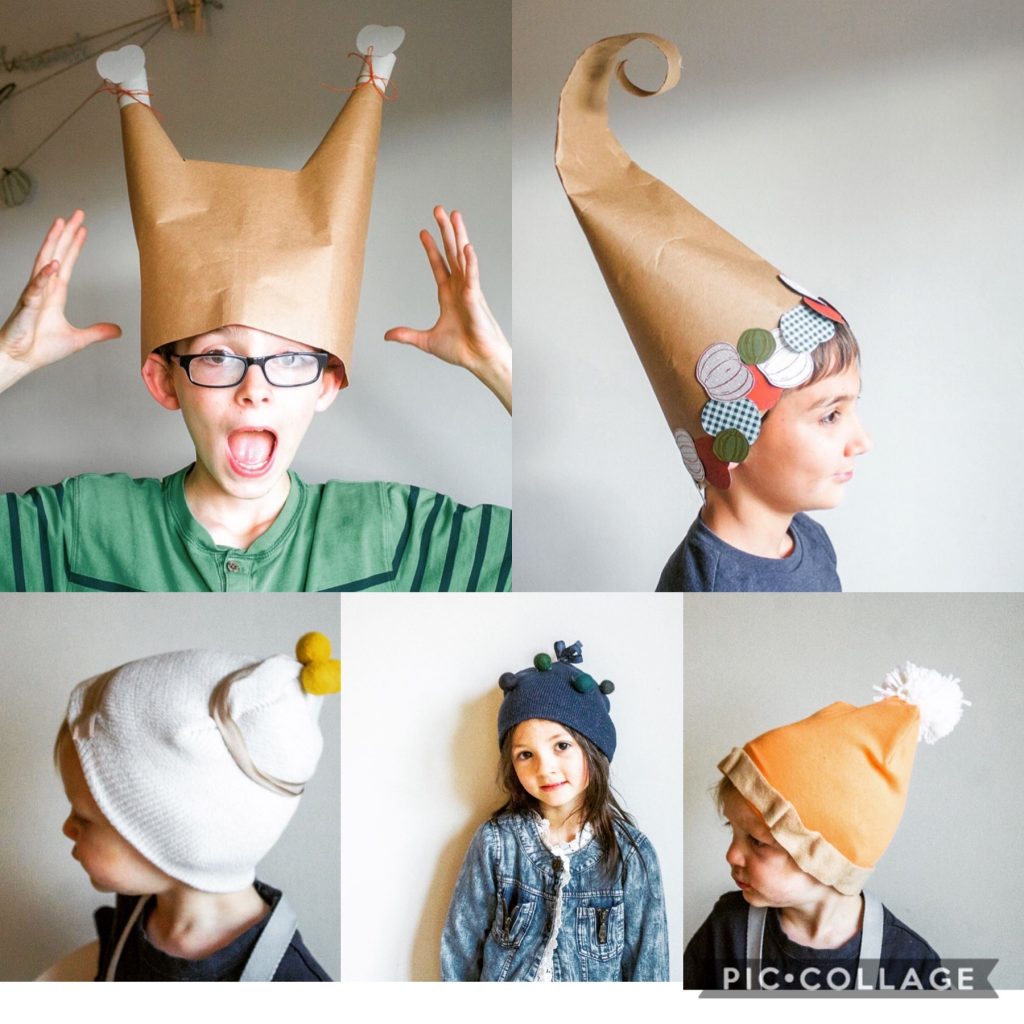
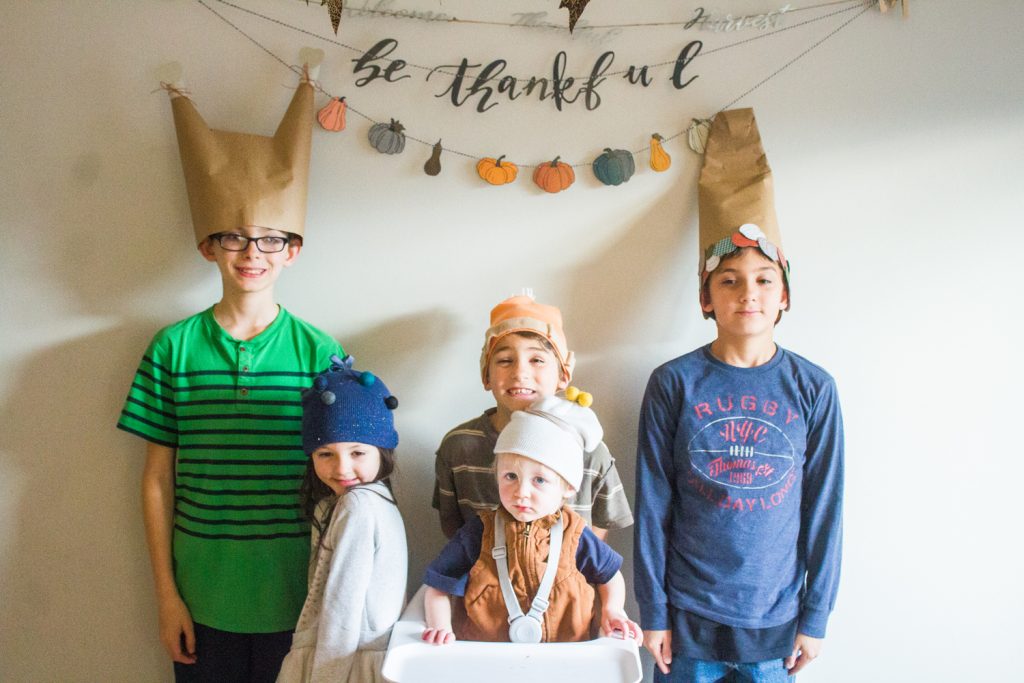
Who’s hungry?!
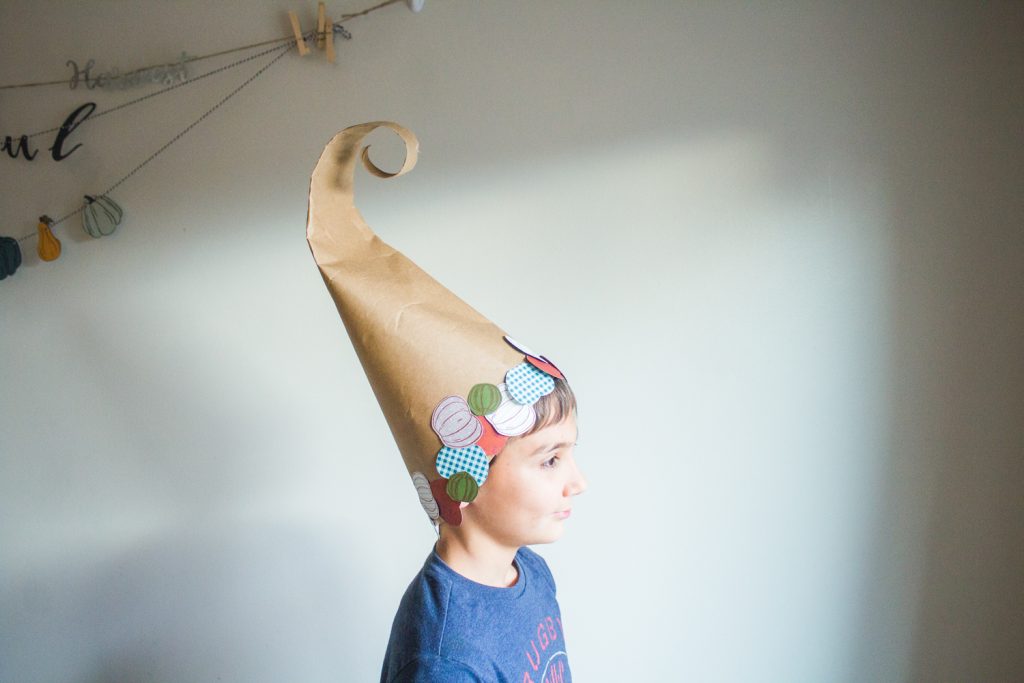
DIY Paper Cornucopia Hat Thanksgiving Kids Craft
Supplies
brown craft paper or wrapping paper
Come To Gather Designer Series Paper
(optional) Stampin Up Pumpkin Punch
(optional) pencil for curling
Instructions
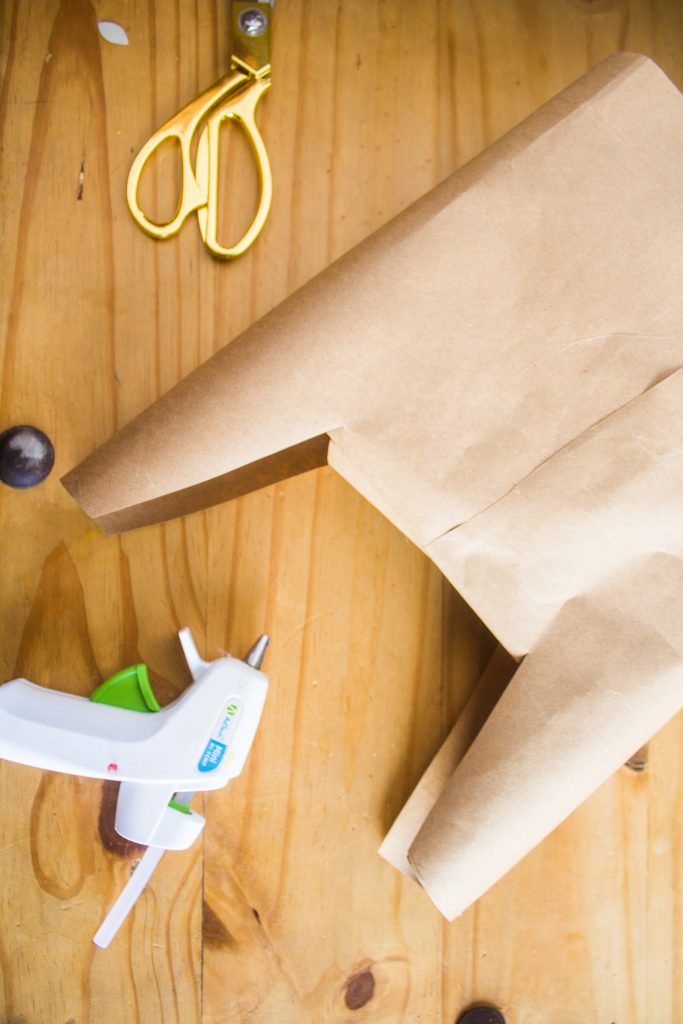
- Plug in the hot glue so it starts to warm.
- For the Cornucopia hat measure your child’s head.
- Cut a rectangle the size of your childs head one way and at least 30 inches long.
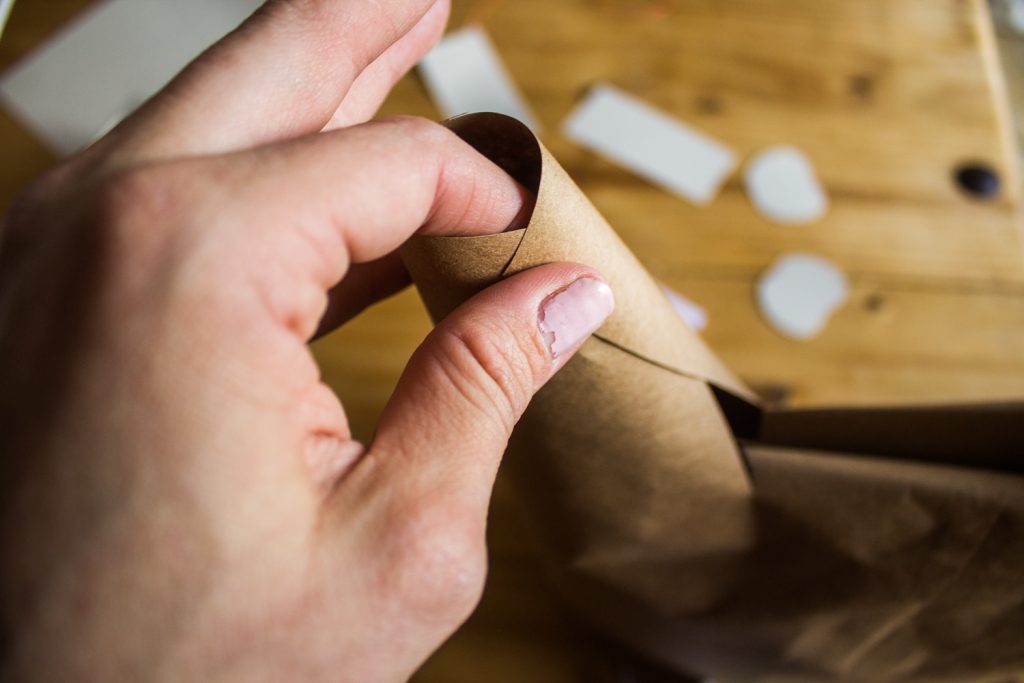
- Now take a side and cut a 45 degree slant. This will show you where to roll the paper.
- Match the sides of the paper so the paper makes a cone.
- Using the hot glue gun, glue the sides together so they match up.
- Use a pencil for curling the small end of the cornucopia. If you do not have a pencil you can also roll the end on itself.
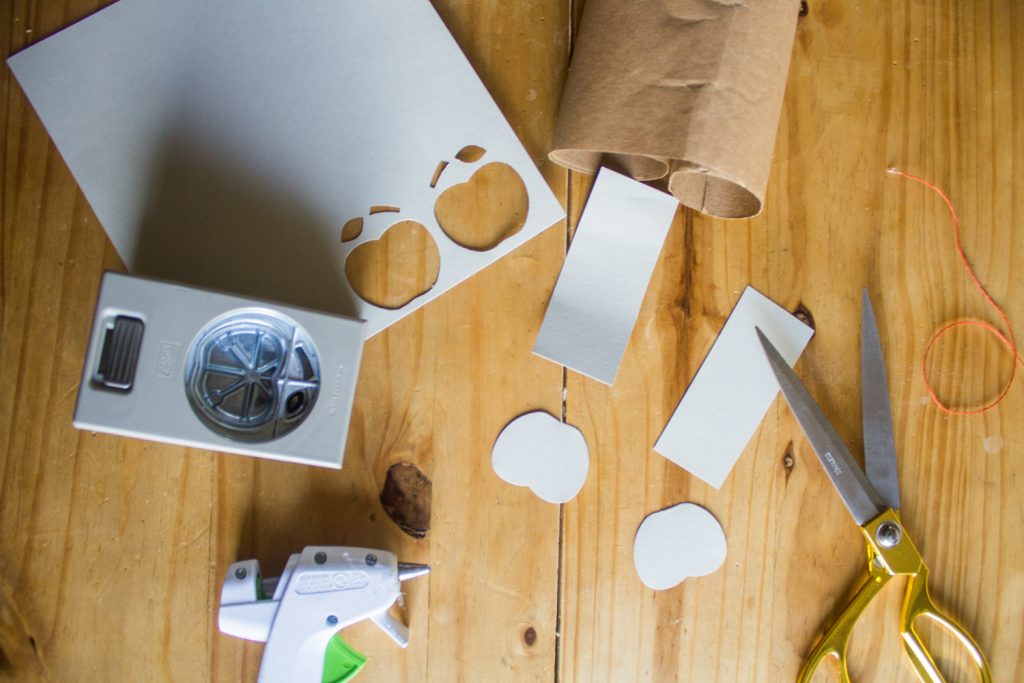
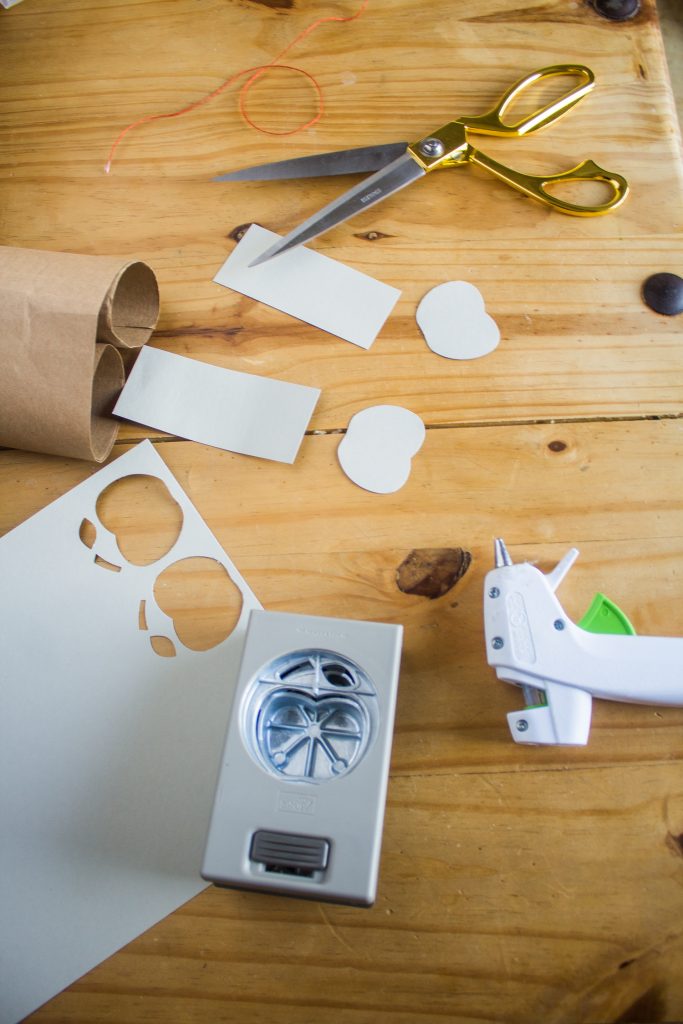
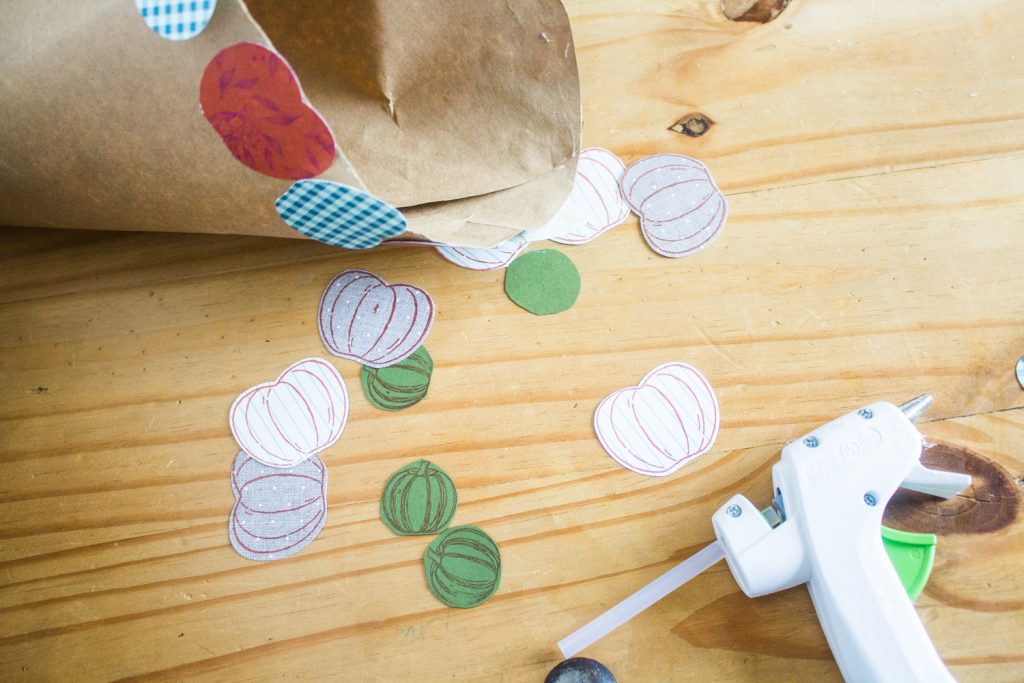
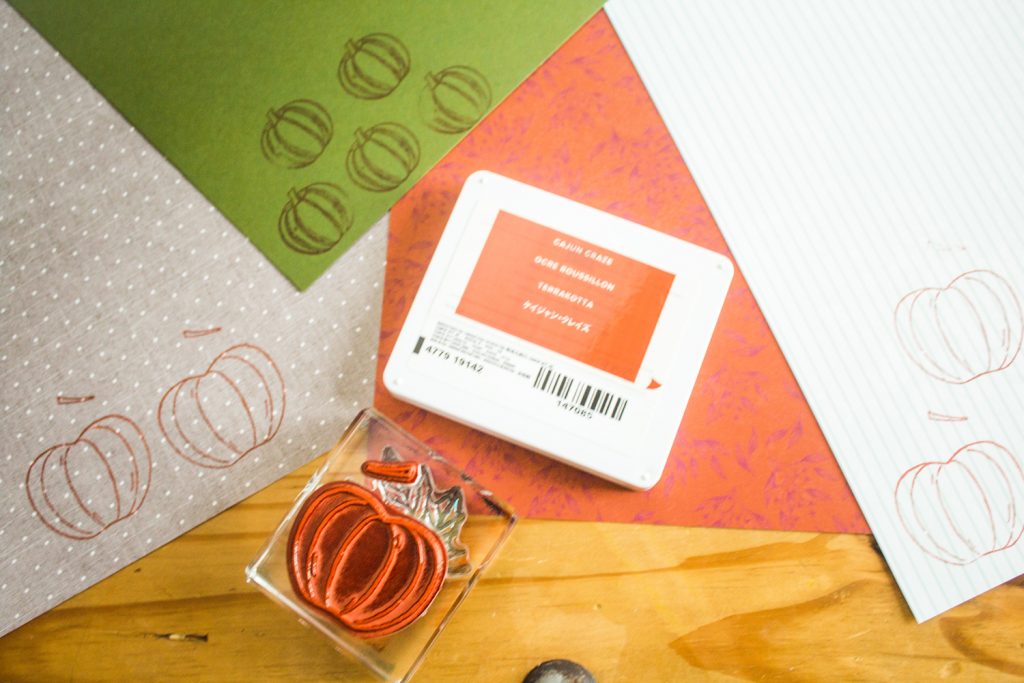
- Using your Stampin Up stamp pad and stamps, stamp out some pumpkins and leaves.
- Punch out the pumpkins using the Apple Punch linked above.
- Hot glue the paper pumpkins along the edge of the cornucopia. Make sure to spread out colors so they are present all around the rim.
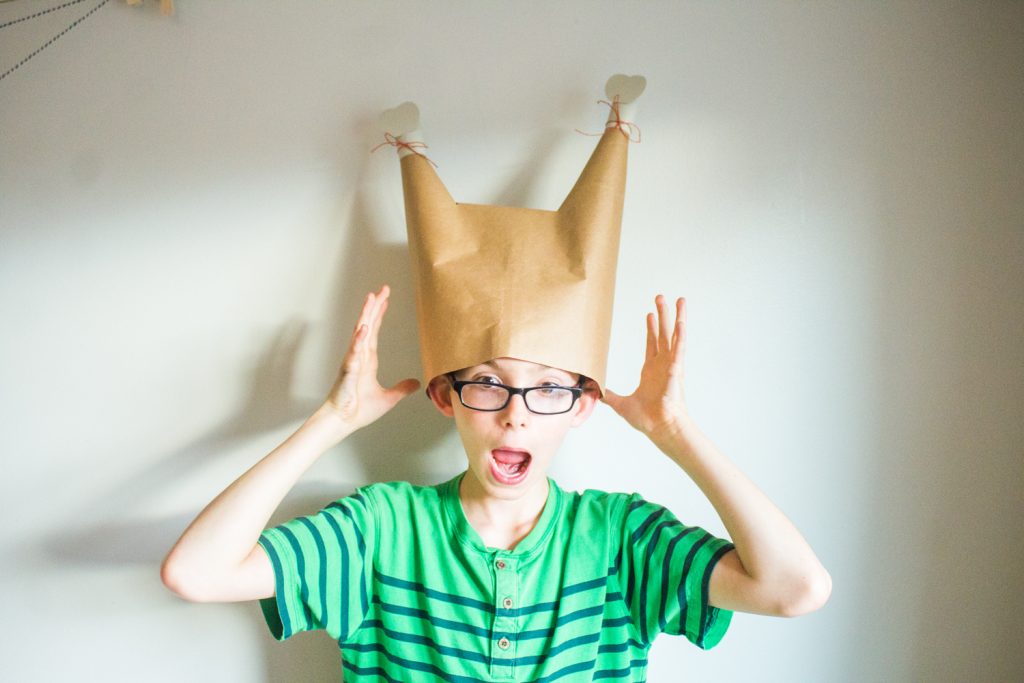
DIY Paper Turkey Hat Thanksgiving Kids Craft
Supplies
brown craft paper or wrapping paper
Come To Gather Designer Series Paper
(optional) Stampin Up Pumpkin Punch
(optional) pencil for curling
(optional) string for the turket legs
Instructions
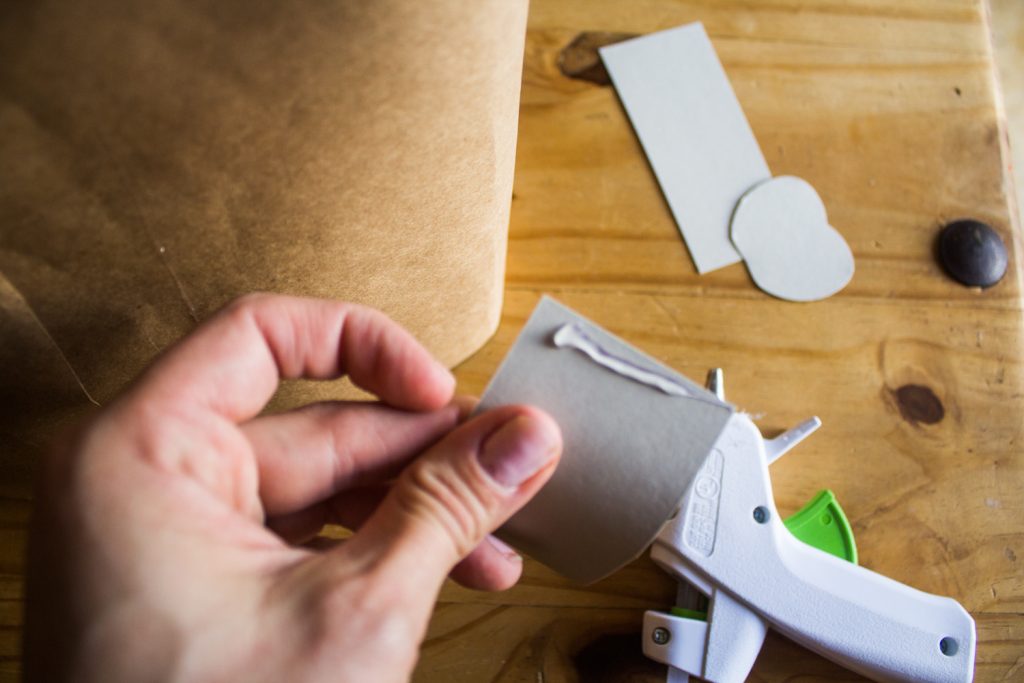
- Plug in the hot glue so it starts to warm.
- For the Cornucopia hat measure your child’s head.
- Cut a rectangle the size of your child’s head one way and at least 18 inches long.
- Fold the rectangle and glue short ways and glue alongthe edge with the hot glue gun.
- Secure the hat so it is a loop.
- Cut slits at the top angled in for the legs.
- Fold the middle together on the top pieces you just cut.
- Glue the middle pieces together.
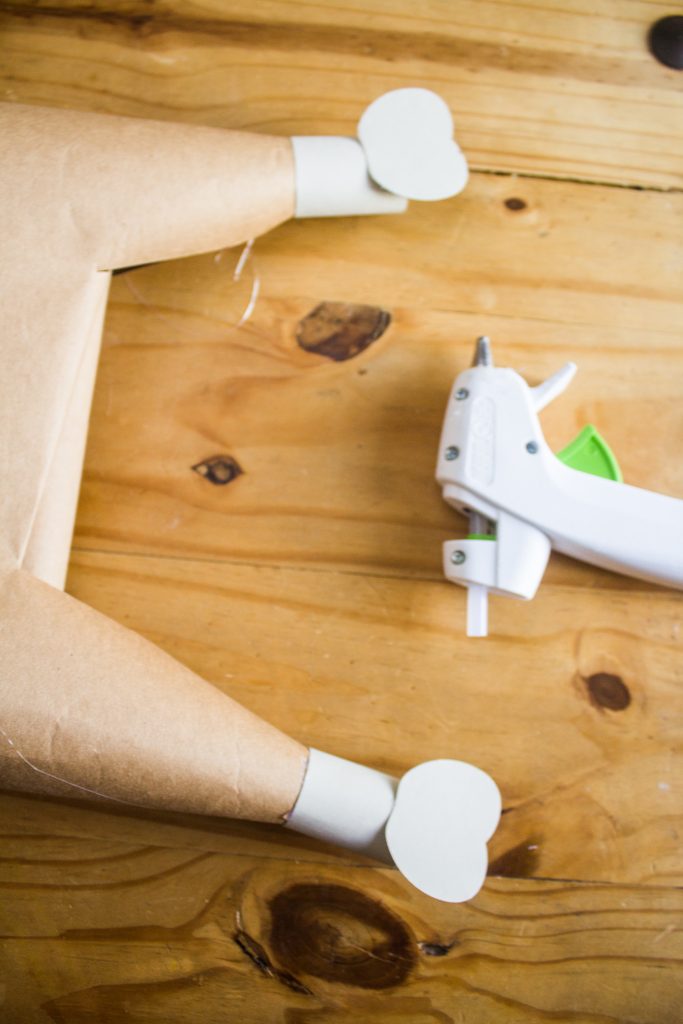
- Cut a rectangle with the cream paper.
- Punch out a pumpkin with the cream paper.
- Hot glue the rectangle into a loop to go around the legs.
- Hot glue the pumpkin shape as the turkey feet.
- Tie the string around the turkey legs and secure with glue.
DIY Pumpkin Pie, Mashed Potatoes, and Fruit Salad Beanie Thanksgiving Craft
I made this pumpkin pie hat last year and loved the idea so much I decided to make a whole Thanksgiving feast. Read here for the instructions for the beanies.
If you liked that, you might like this: